What this article covers: How to upload a claims file to ClaimScore — including preparing your file, matching columns, and understanding what happens during pre-processing. This applies to bulk claim uploads and paper claims converted to digital format.
What is a Claims File?
A claims file is a CSV file containing one row per claim. It can represent:
Claims submitted through a paper form that have been digitized
Claims collected through another system and exported for review
Any batch of claims you want ClaimScore to analyze
ClaimScore processes the file, classifies each claim as New, Duplicate, Existing, or Insufficient, and then runs fraud analysis on the eligible claims.
How to Get There
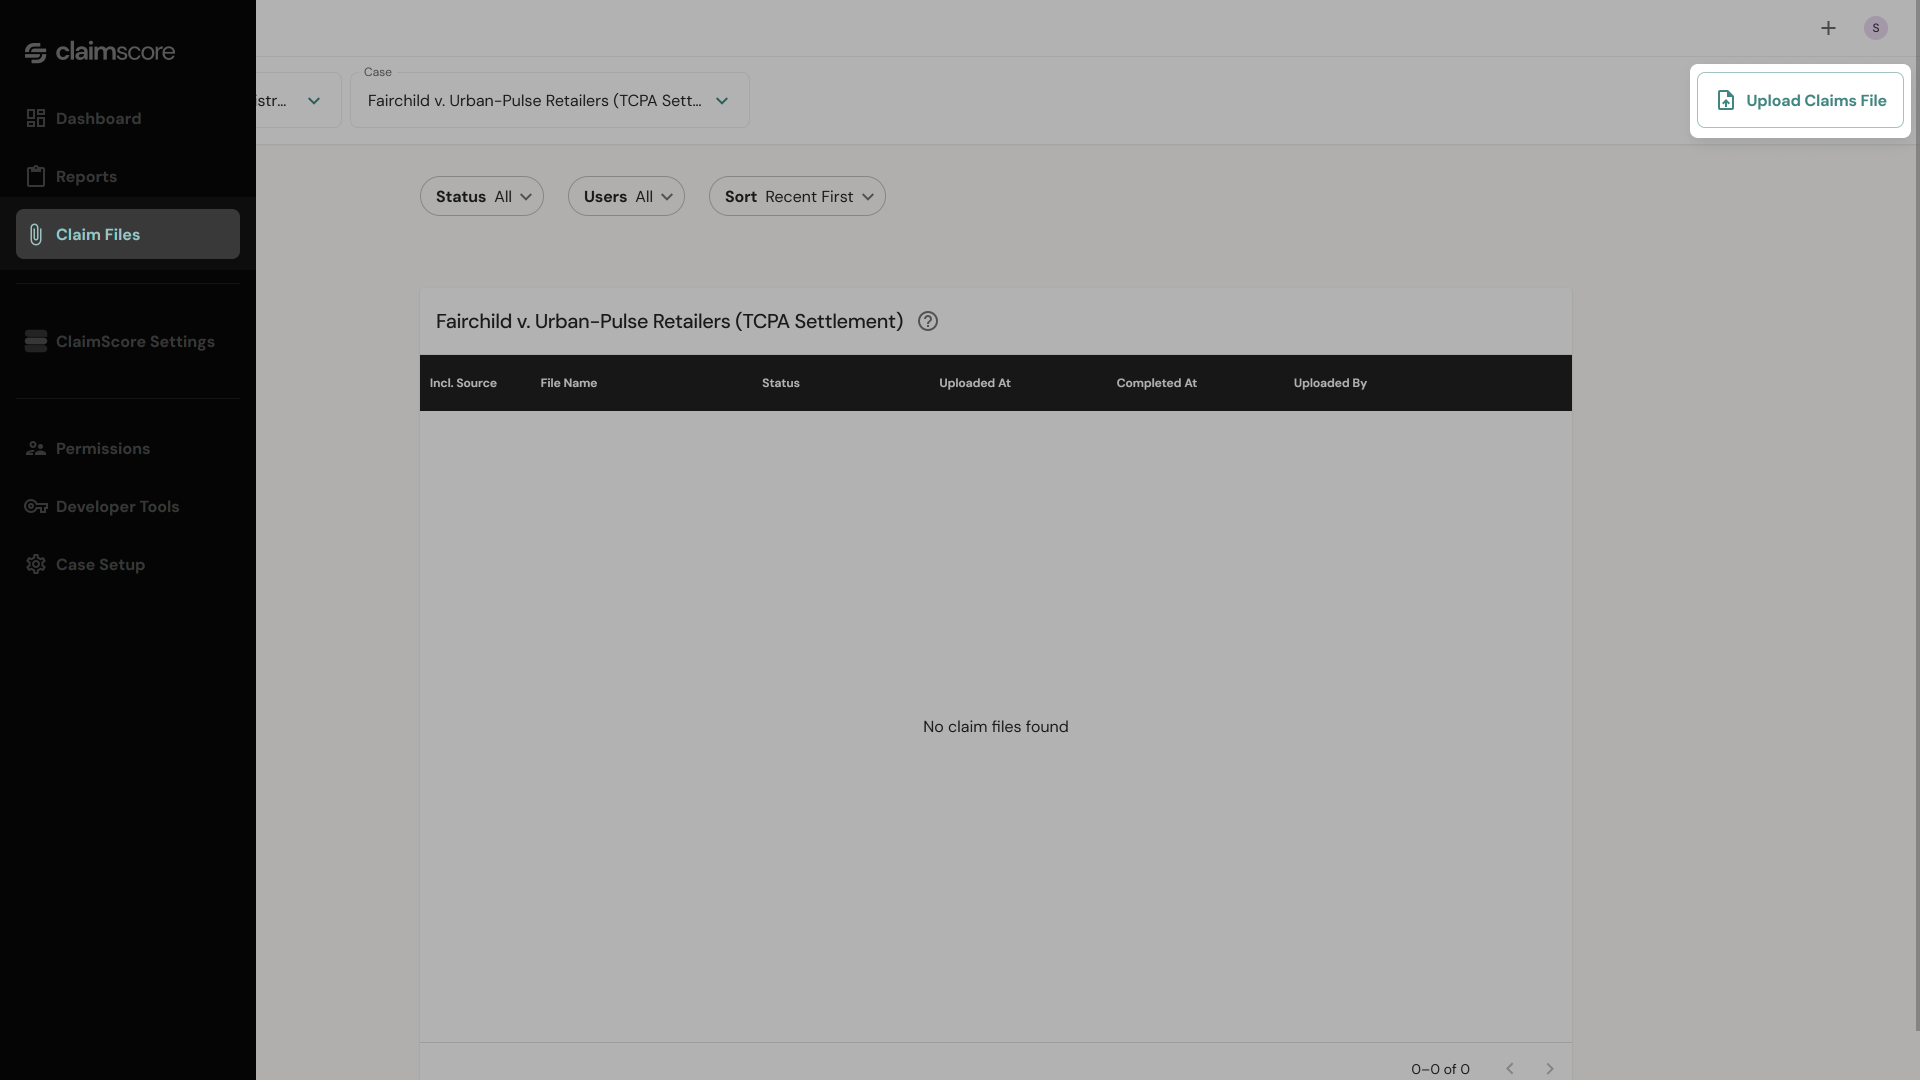
From the left sidebar, click Claim Files. This opens the Claim Files dashboard, which shows a table of all uploaded files for the current case, with columns for: Source, File Name, Status, Uploaded date, Completed date, and Uploader.
To upload a new file, click the Upload Claims File button in the top right of the page. You can also start this process from the ‘+’ icon in the top-right corner of the screen, then select Upload Claims File from the menu.
The Upload Process
Step 1 — Prepare Your File
The first screen you see is Prepare Your File. This step exists to make sure your file is structured correctly before anything is processed.
Download the template first. Click the Download template file button. This gives you a CSV with the correct column headers and structure that ClaimScore expects. If your file doesn't match this structure, the column matching step will require manual intervention.
Once your file is ready:
Drag and drop your CSV file into the upload zone, or click the zone to browse for it.
Only CSV files are accepted.
💡 Tip: If you have a claims file from another system, open the template and compare column names before uploading. Fixing column names in your file before uploading is faster than resolving errors during column matching.
Step 2 — Column Matching
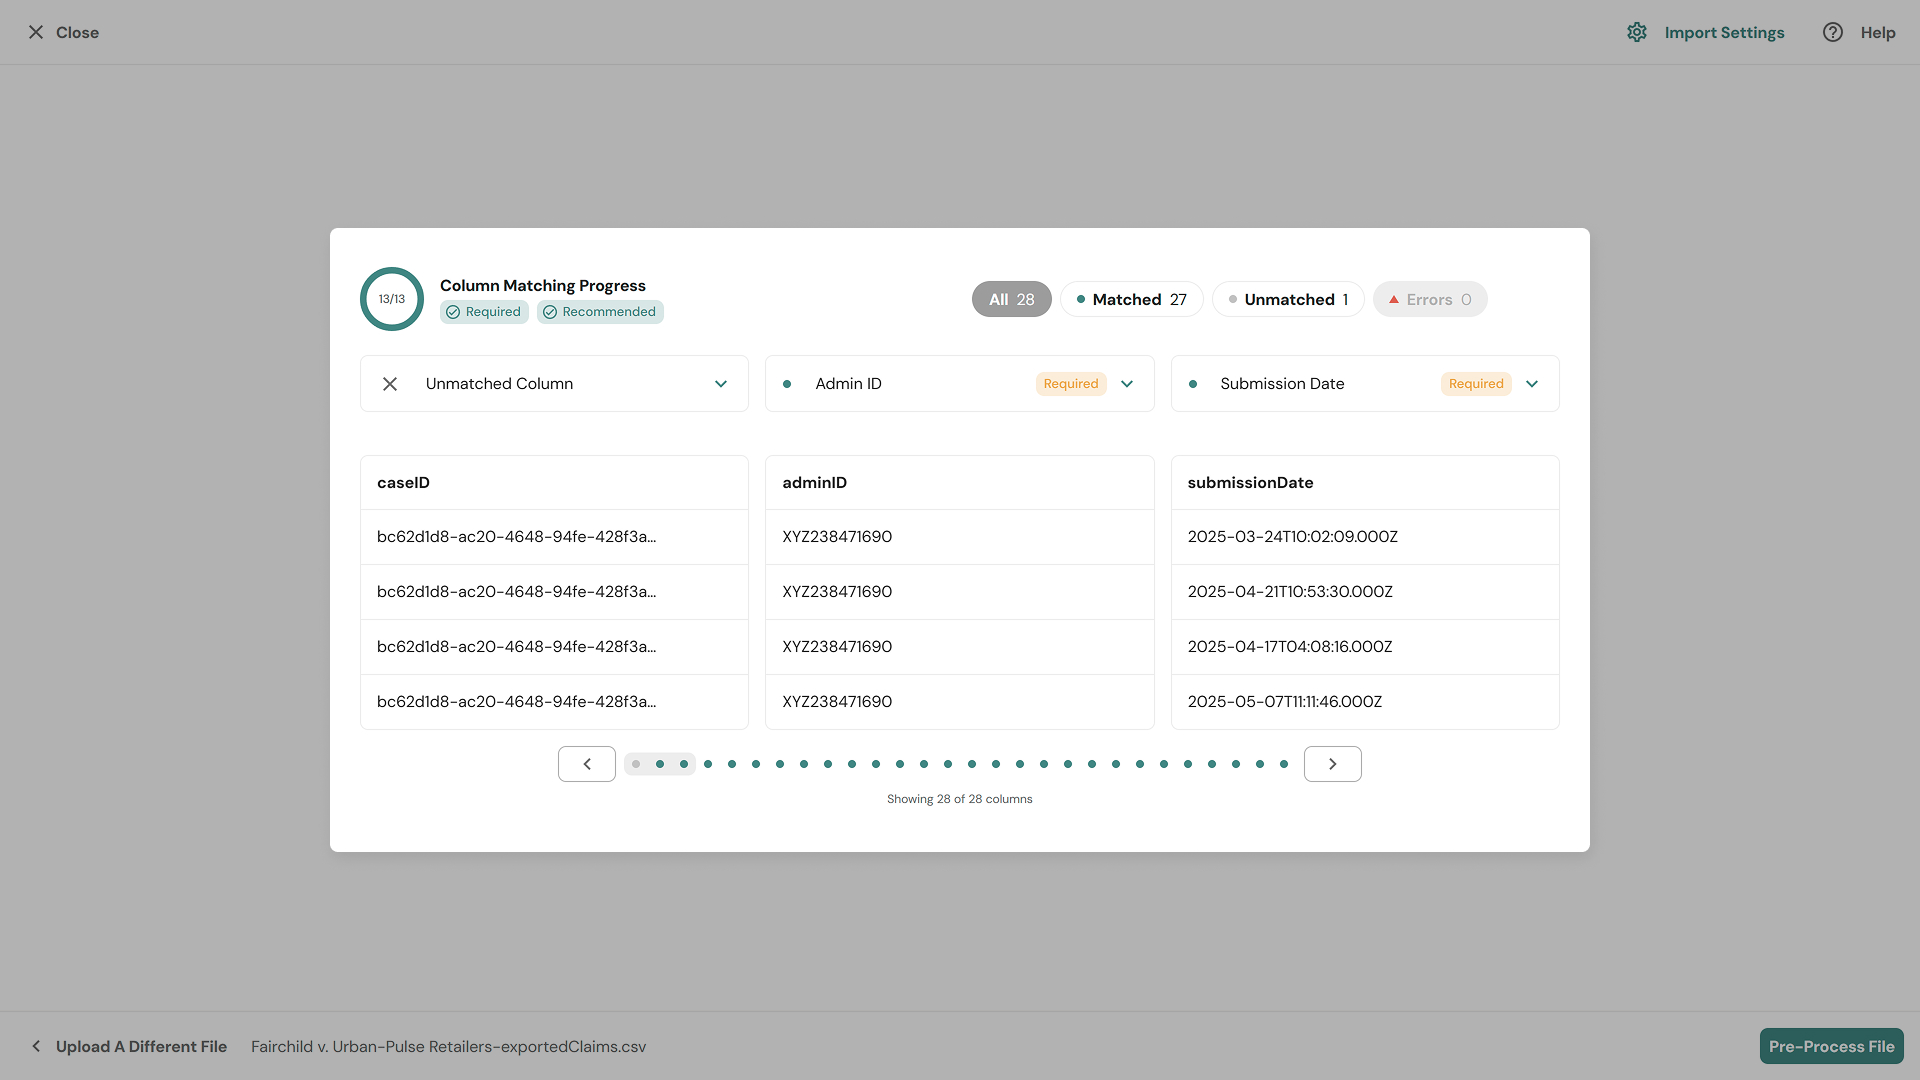
After your file uploads, ClaimScore moves to the Column Matching screen. This is where you tell ClaimScore which column in your file corresponds to which field it expects.
The screen shows:
A progress indicator at the top: e.g., "13/13 Column Matching Progress" showing how many of your columns have been matched.
A summary bar showing counts for: All, Unmatched, Matched, and Errors.
A preview table showing sample data from your file so you can verify the match looks correct.
For each column, ClaimScore attempts to auto-match it to a known field. If it recognizes the column name, it will suggest a match automatically (shown with a "Recommended" badge). If it can't match automatically, the column appears as Unmatched and you need to select the correct field from the dropdown.
The field list includes: Admin ID, Submission Date, Claim Type, First Name, Last Name, Address fields, Email (Unvalidated / Validated / Payment), Phone (Unvalidated / Validated / Payment), Units, IP Address, Referrer, Mailed In, Class Member ID, Authentication PIN, and more. Fields already collected are tagged in orange as "Collected."
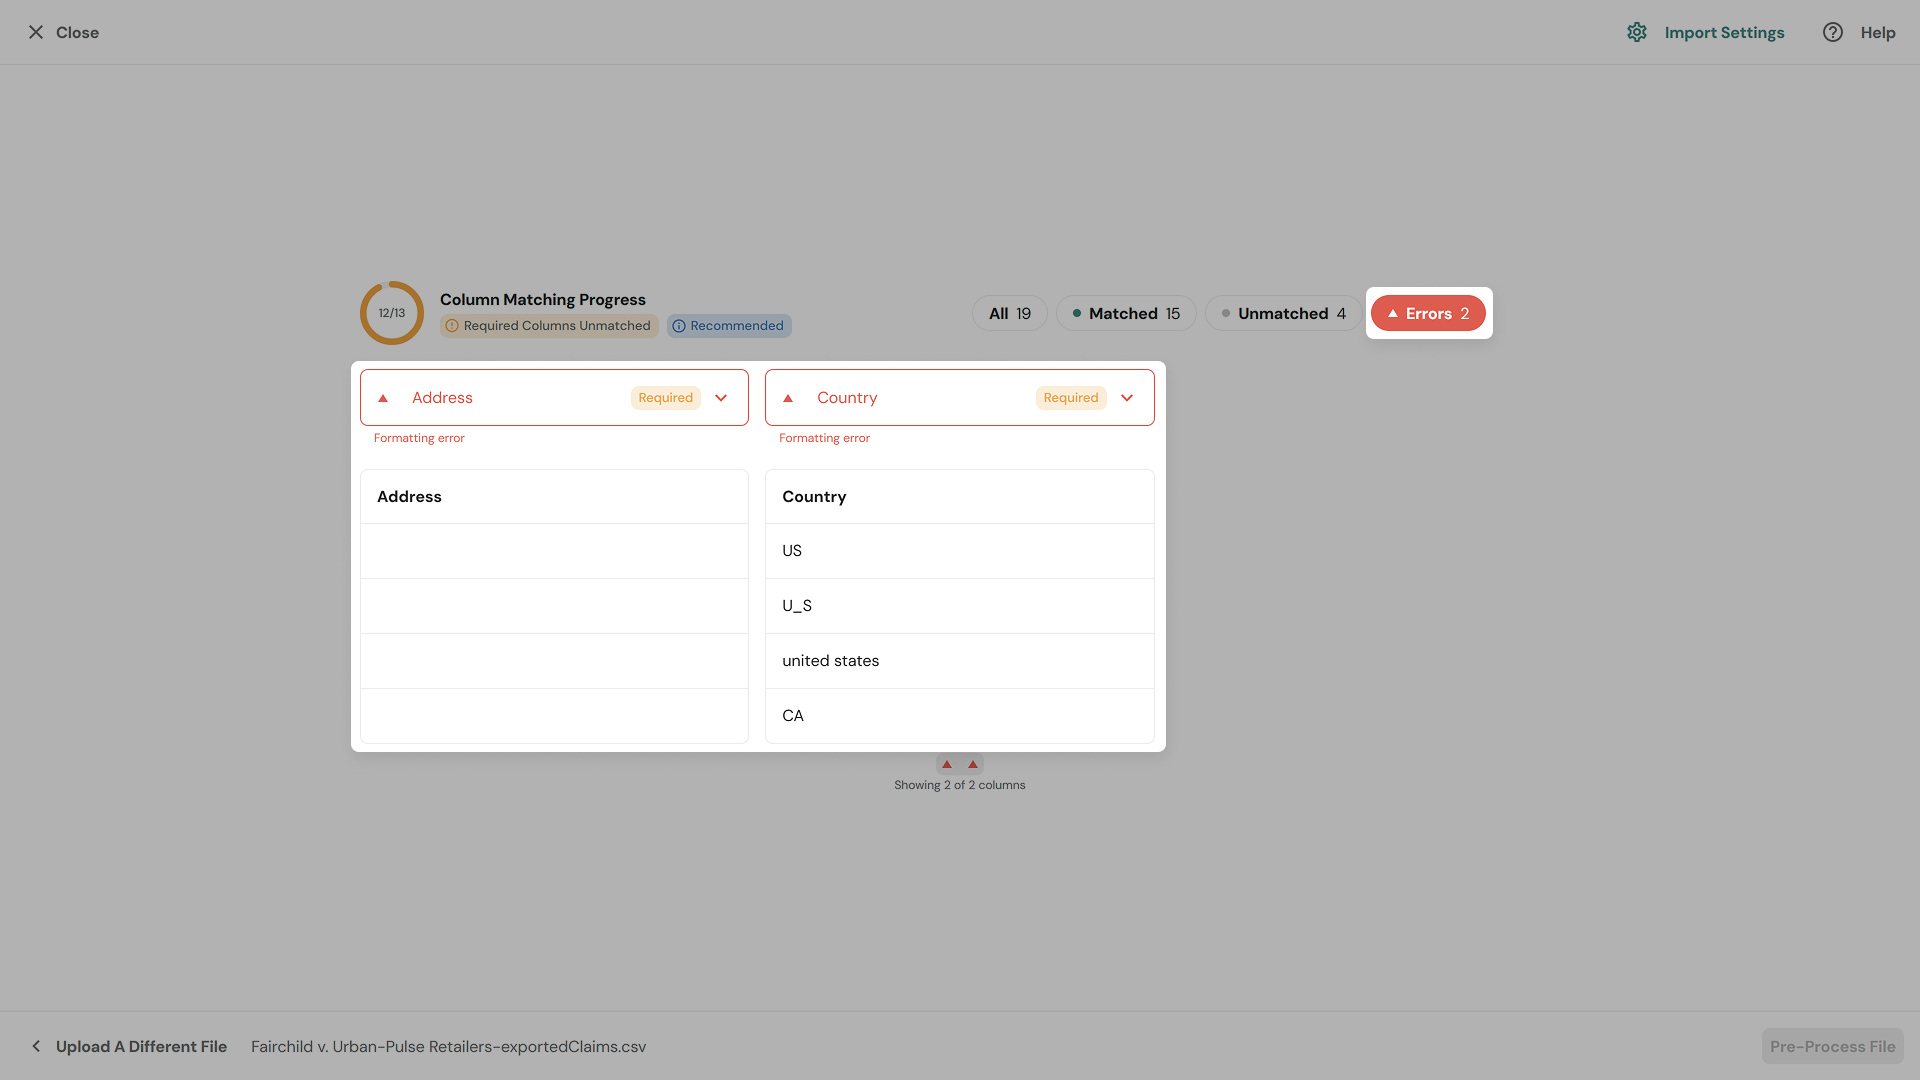
Error states to watch for:
Formatting error — The data in that column doesn't match the expected format (e.g., ZIP Code with non-numeric characters, or a date in the wrong format). You'll see this flagged in red on the affected column.
Missing data — A required field has a column matched but the data is largely empty.
Unmatched required column — A field ClaimScore requires has not been matched to any column in your file.
When there are errors, the Pre-Process File button at the bottom remains disabled. You cannot proceed until all errors are resolved.
When all required columns are matched and error-free, the progress indicator shows the full count (e.g., 13/13), all errors are cleared, and the Pre-Process File button becomes active.
Click Pre-Process File to continue.
Step 3 — Pre-Processing
After you click Pre-Process File, ClaimScore begins analyzing the contents of your file in the background. This can take several minutes depending on file size.
You don't need to stay on this screen — you can continue using the app. When pre-processing is complete, the file status in the Claim Files dashboard will update.
Step 4 — Review the Pre-Processing Results
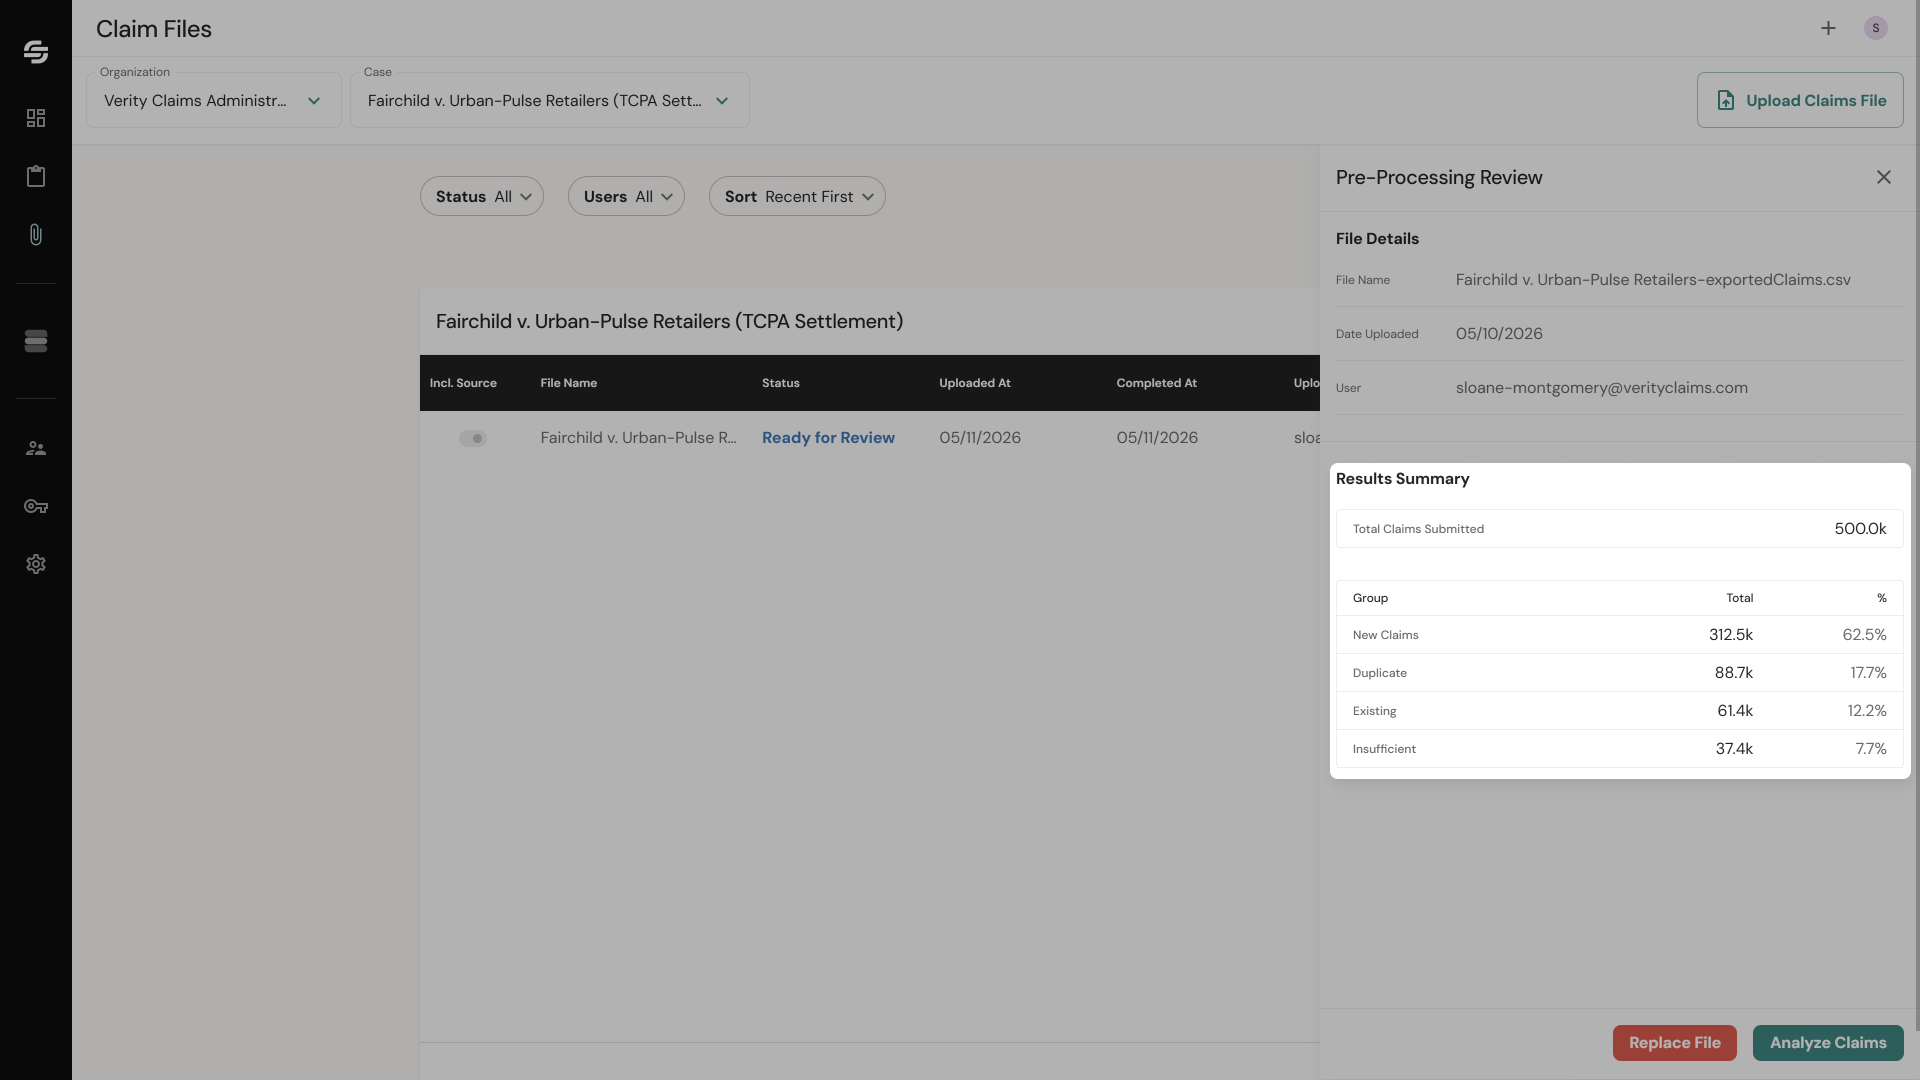
Return to Claim Files in the left sidebar. Find your file in the table — its status will now show as Ready for Review.
Click anywhere on the file row to open the details drawer on the right side of the screen.
The drawer shows:
File Details — File name, upload date, and the user who uploaded it.
Results Summary — A breakdown of all claims in the file:
New — Claims not previously seen in the system. These are the primary candidates for fraud analysis.
Duplicate — Claims submitted more than once within this file.
Existing — Claims already present in the system from a previous upload.
Insufficient — Claims that are missing required fields and cannot be processed.
Review these numbers. If the distribution looks unexpected (e.g., an unusually high duplicate rate), you may want to investigate your source file before proceeding.
From the drawer, you have two actions:
Replace File — If something is wrong with the file, upload a corrected version. This replaces the current file.
Analyze Claims — When you're satisfied with the results summary, click this to send the new claims forward for fraud analysis.
Understanding File Statuses
As your file moves through the process, its status in the Claim Files table will change:
Status
What it means
Pre-Processing
ClaimScore is parsing and validating the file contents
Ready for Review
Pre-processing is complete. Review the results summary and decide whether to proceed
Pending Analysis
You've clicked Analyze Claims. Fraud analysis is running
Completed
Fraud analysis is done. Results are available in the dashboard
Archived
File is no longer active. This is permanent and cannot be undone.
What Happens Next
Once analysis is complete, the file status changes to Completed. Head to the dashboard to review your claim results. See: 6. ClaimScore Dashboard Quickstart