What this article covers: How to create a new case in ClaimScore — the first thing you need to do before any claims can be uploaded or scored.
What is a Case?
In ClaimScore, a Case is the container for everything related to a single litigation program — its jurisdiction, its claim files, its scoring settings, and its team. Every claim you process lives inside a case. You need to create one before you can do anything else.
Before You Start
You must have an Admin or Owner role in your organization to create a case.
Have the following ready: the case name, case number, and the court where it was filed.
How to Create a Case
Step 1 — Open the Create menu
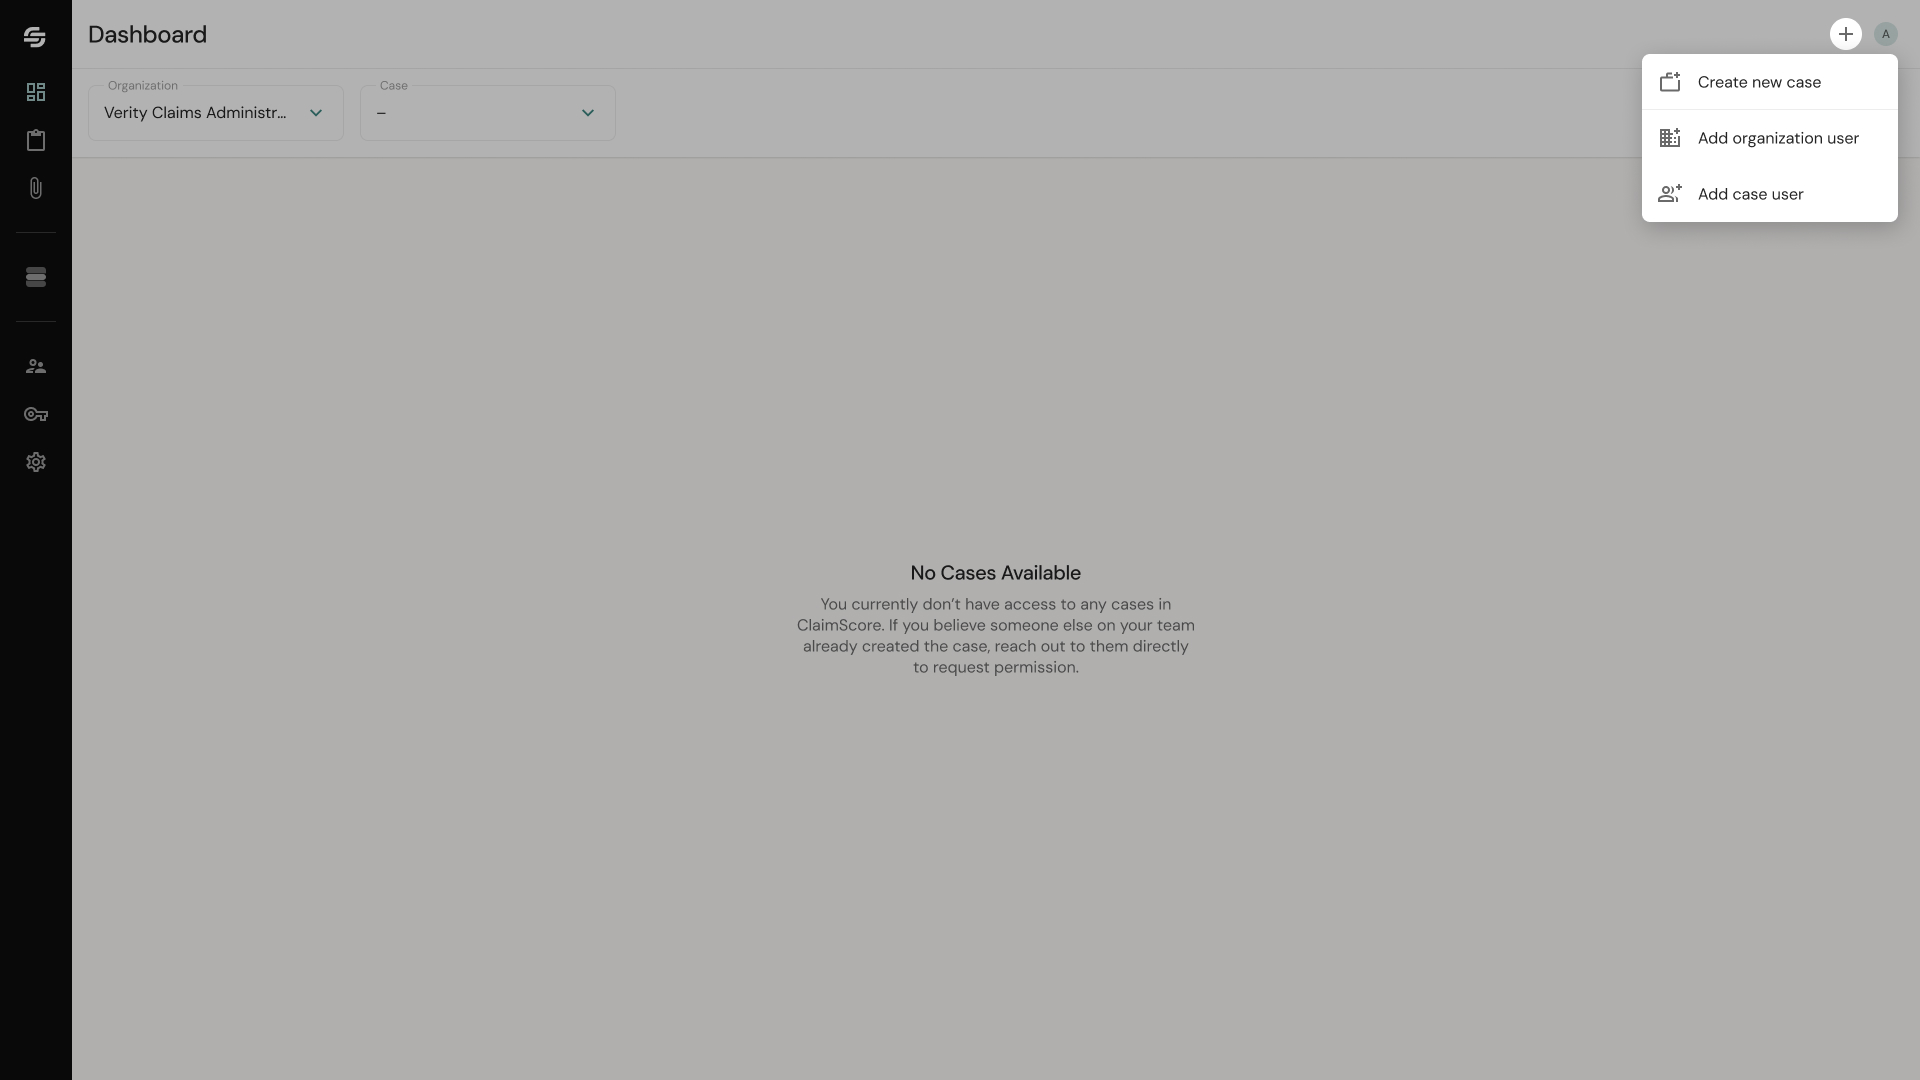
From anywhere in the app, click the "+" button in the top-right corner of the screen. A small dropdown menu will appear with three options:
Create New Case
Add Organization Member
Add Case Member
Click Create New Case. This opens the full-screen Case Creation form.
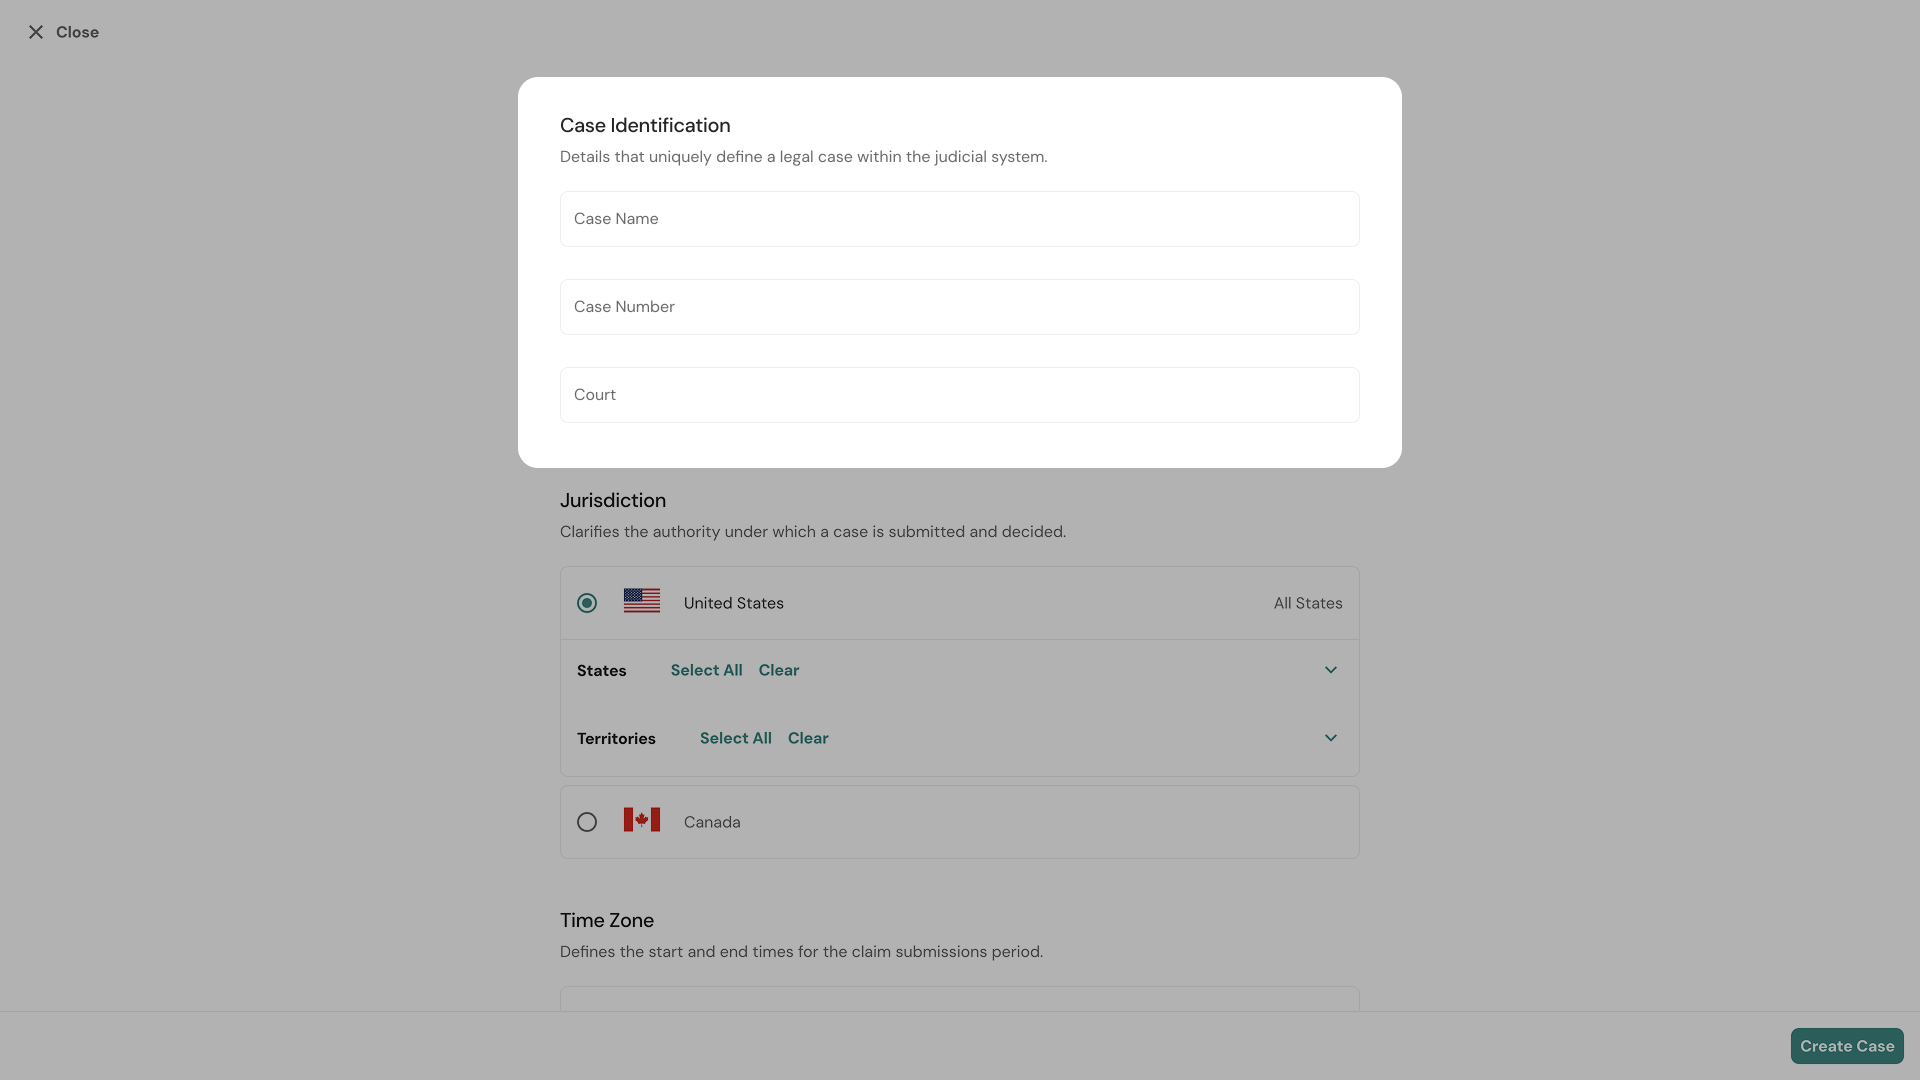
Step 2 — Enter Case Identification details
The form opens with three fields under Case Identification:
Case Name — Enter your case's official name.
Case Number — Enter the case number assigned by the court.
Court — Enter the name of the court where the case is filed.
Fill in all three fields before continuing.
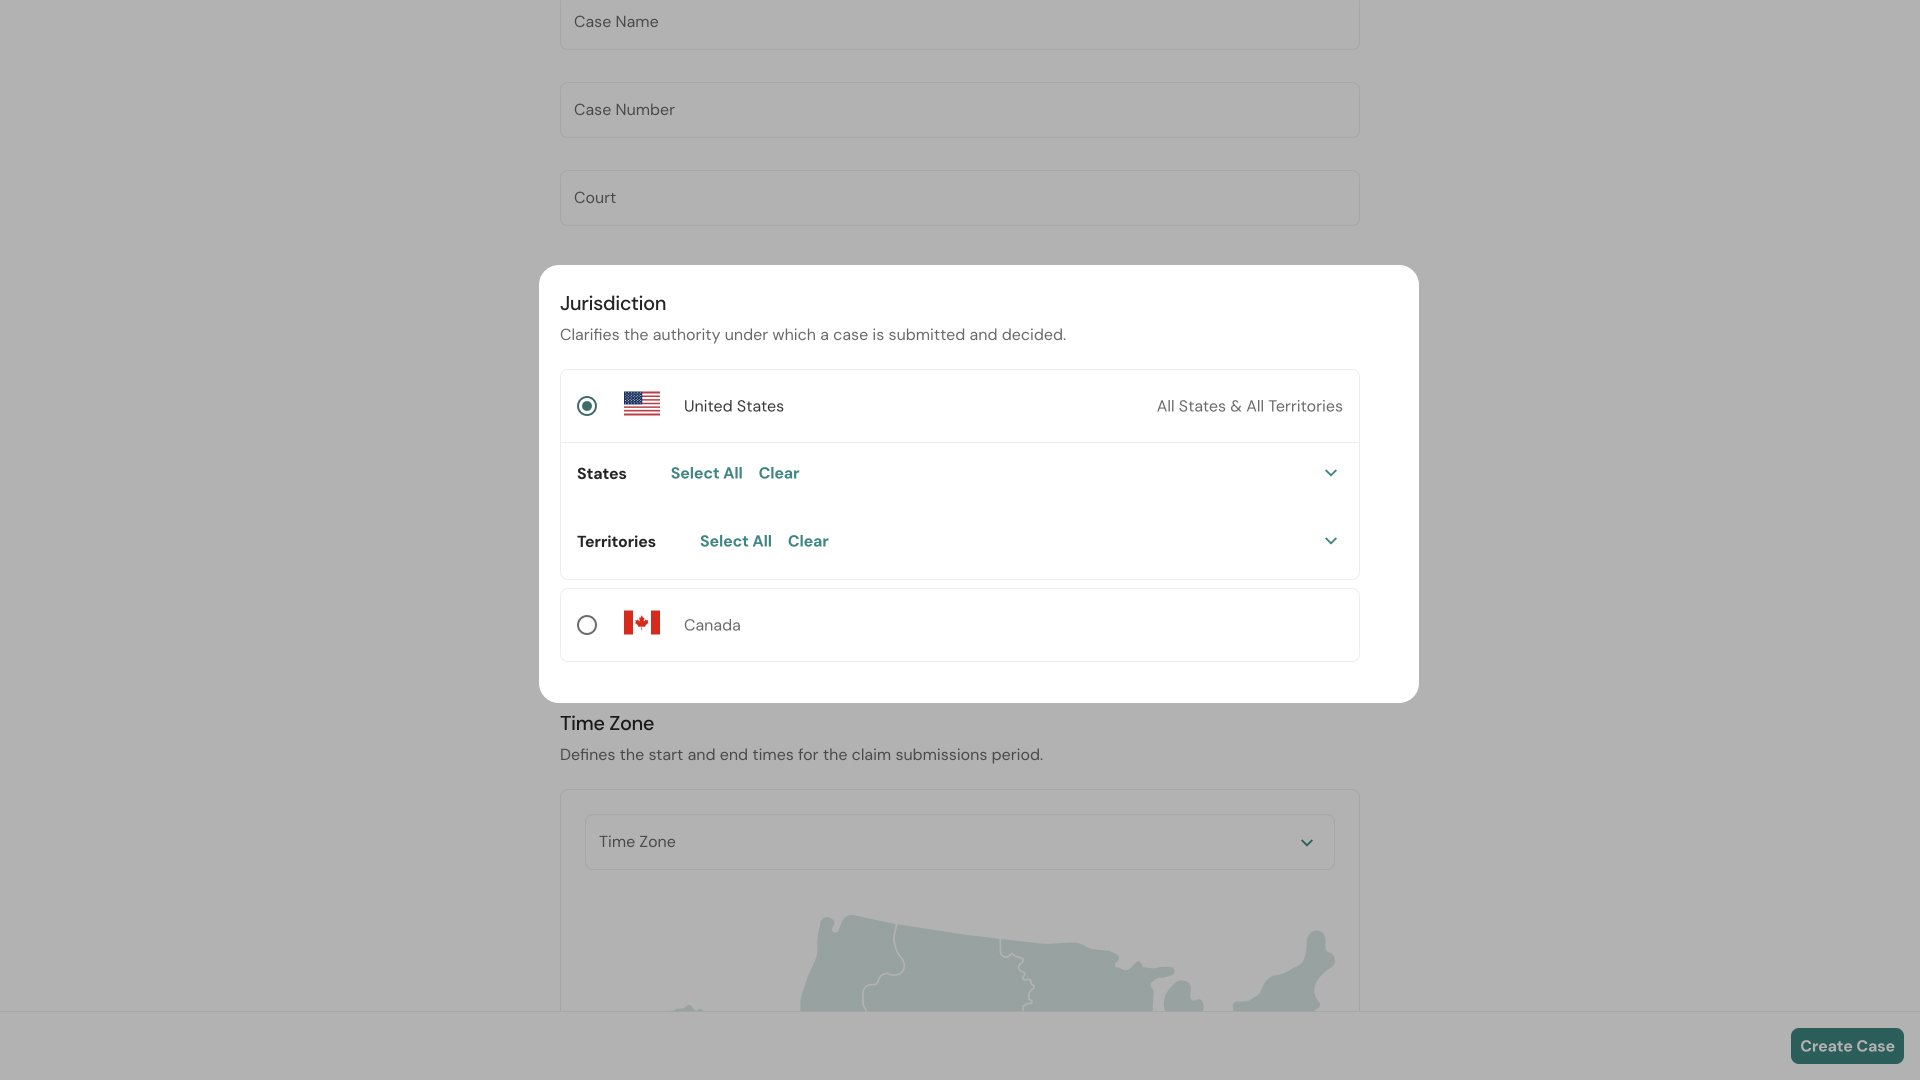
Step 3 — Select the Jurisdiction
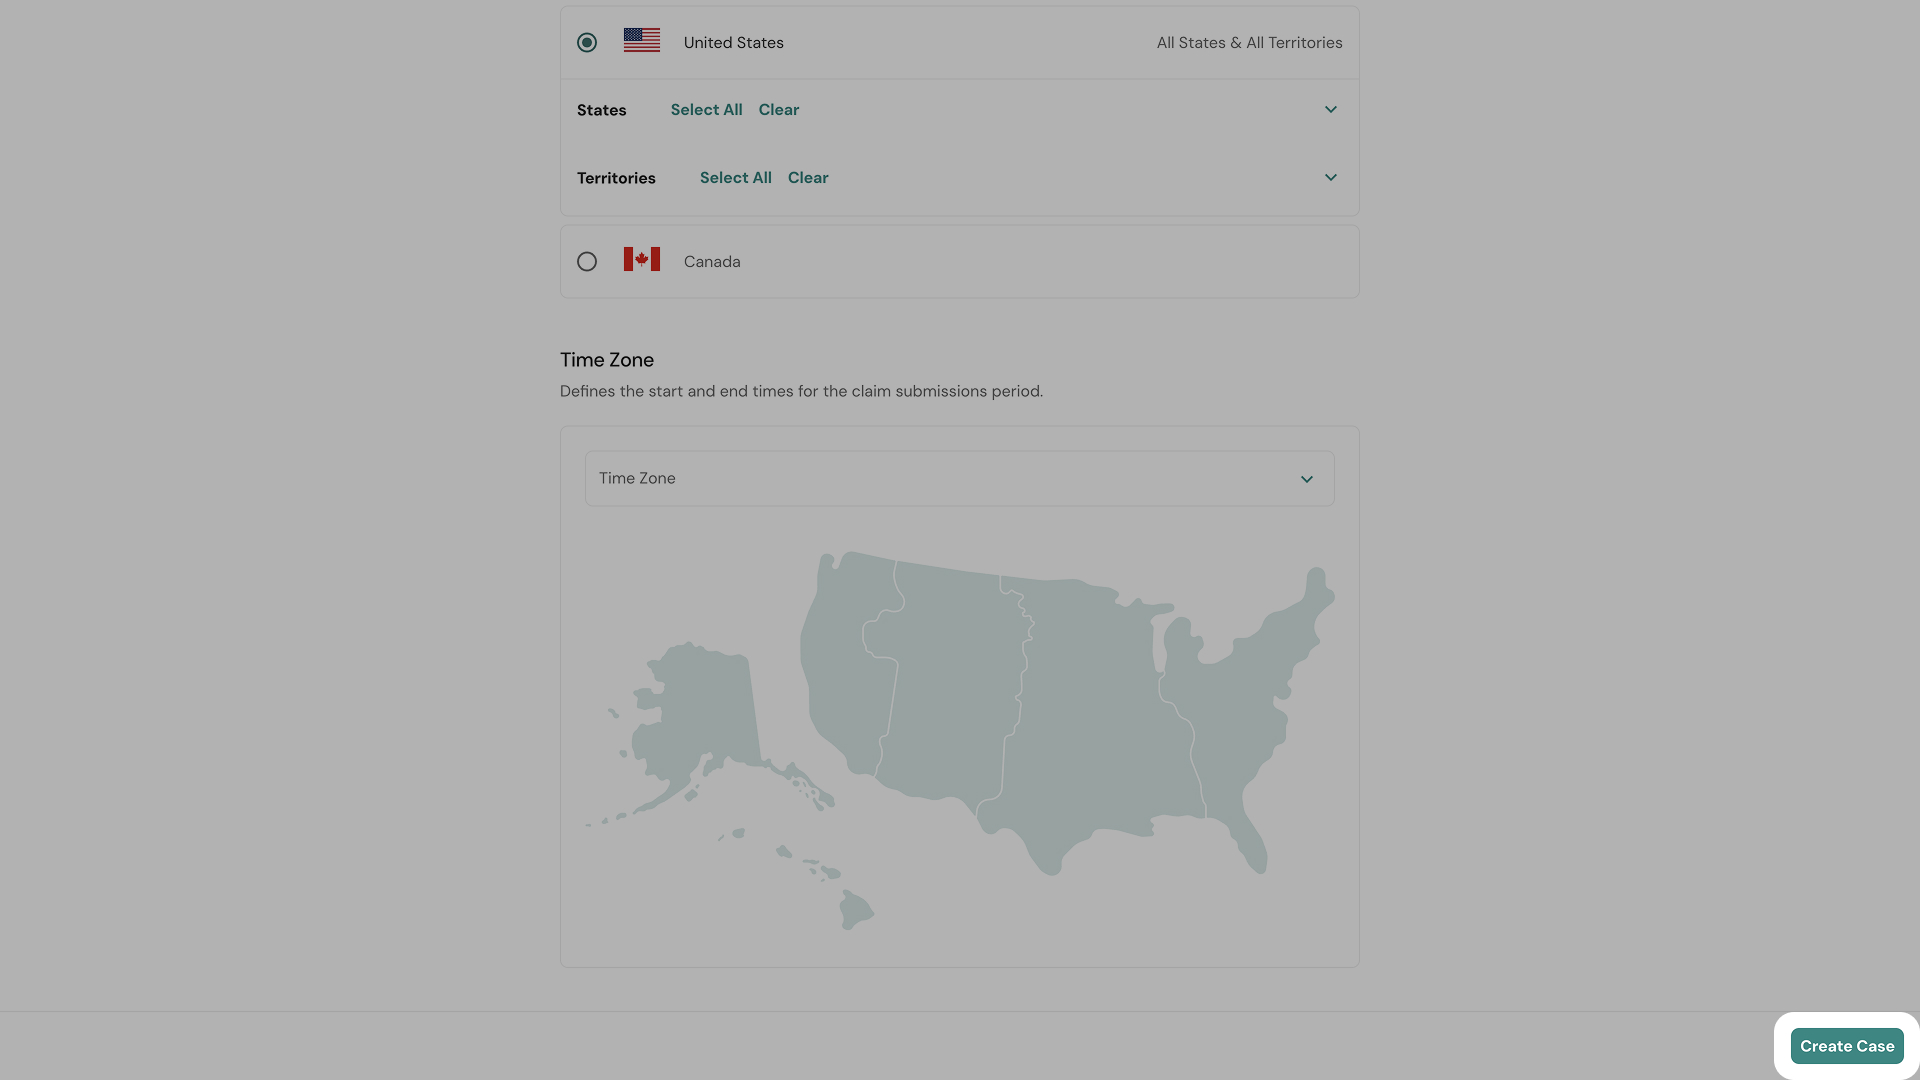
Under Jurisdiction, you'll see two sections: United States and Canada. You can only select one country per case.
A checkbox grid displays all states/provinces and territories. Check every one that is part of the class definition for this case.
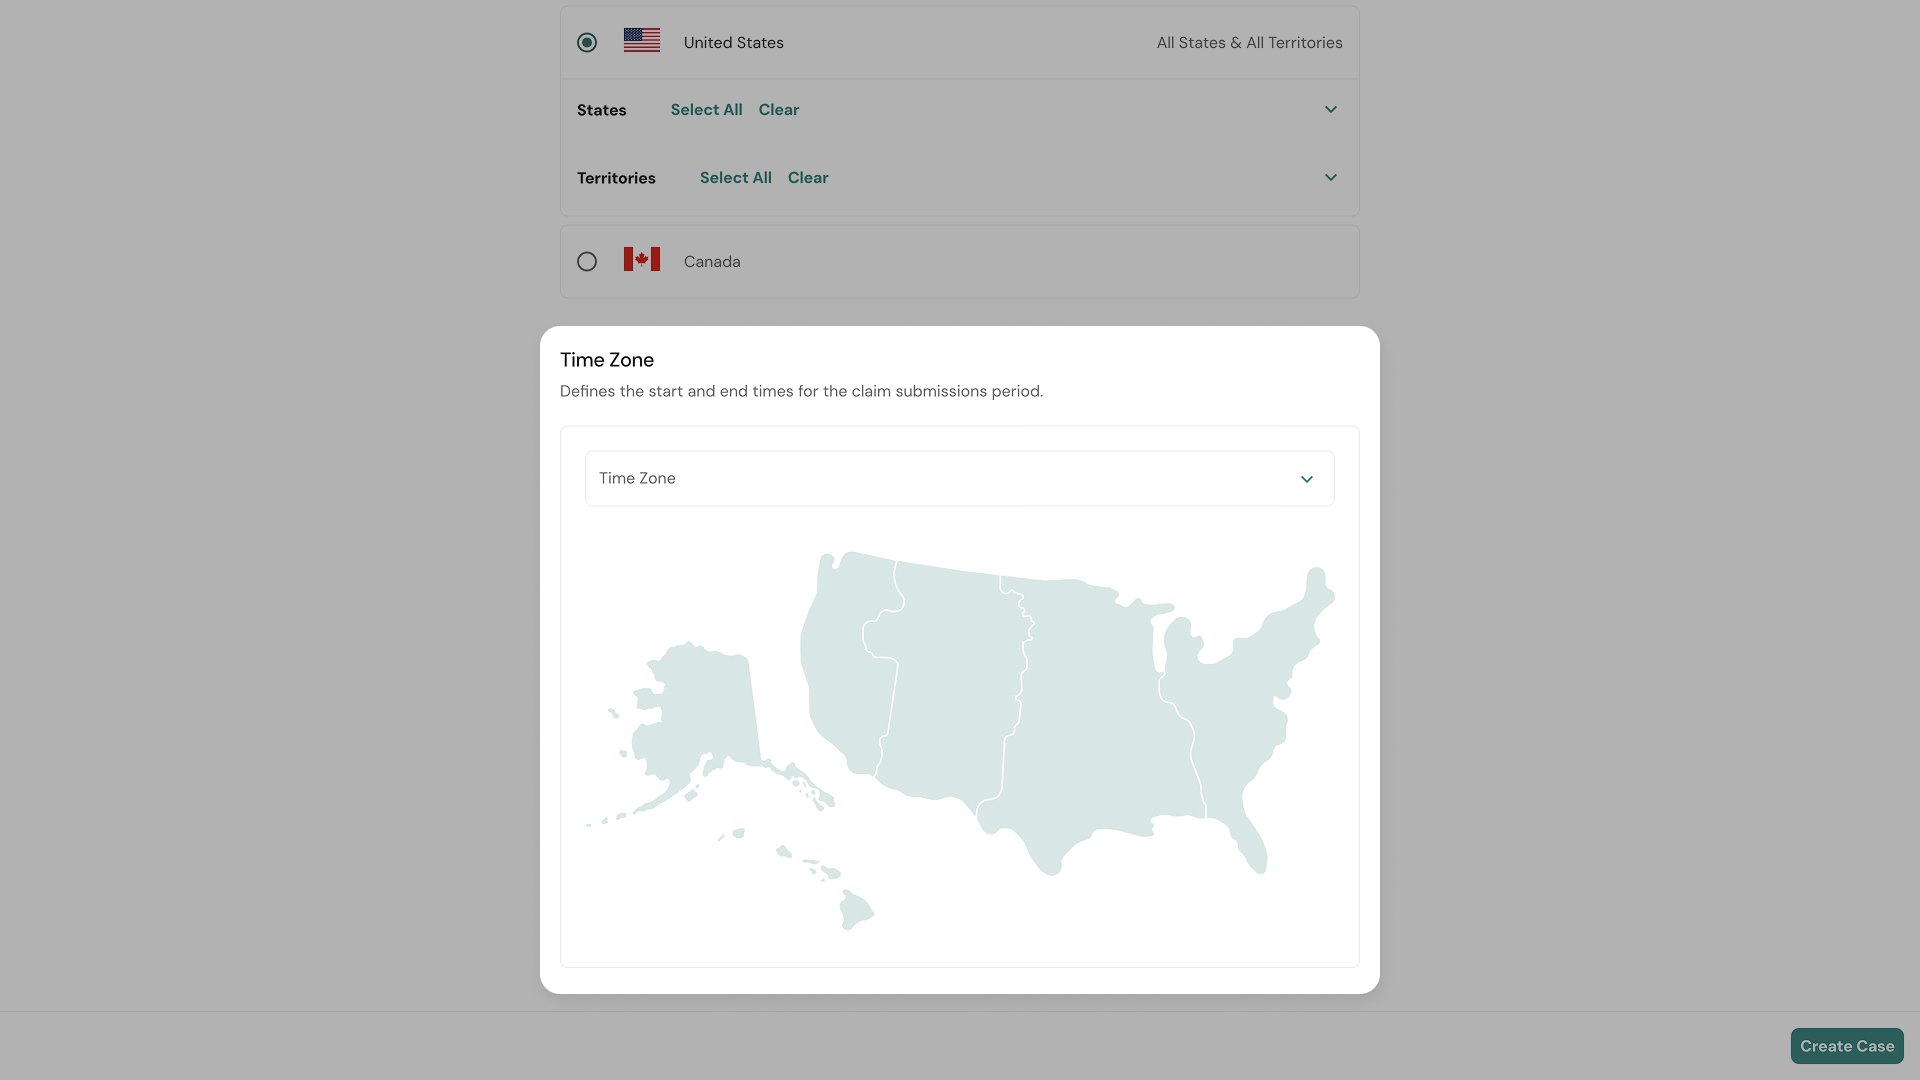
Step 4 — Set the Time Zone
Below the jurisdiction grid, select the Time Zone for this case from the dropdown. This controls how submission deadlines and timestamps are interpreted throughout the case.
A map of the corresponding country is displayed to help you identify the correct time zone visually.
Step 5 — Create the Case
Once all fields are filled in, the Create Case button at the bottom of the form becomes active. Click it.
You’ll be taken to the newly created case. Its initial status is Pending Setup — meaning it exists but is not yet configured for scoring.
⚠️ Important: You can edit your case from the Case Setup in the left sidebar. After the Claim Submission Start Date, your Case Name, Case Number, Court, Jurisdiction, and Time Zone will be locked.