What this article covers: How to configure ClaimScore Settings for your case — the step that controls when claims can be submitted, how many are allowed per claimant, and what gets validated at the point of submission.
Why This Matters
ClaimScore Settings define the rules of the game for your case. Before you connect a claim form or upload any files, ClaimScore needs to know:
When the submission window opens and closes
Whether to limit how many claims a single person or household can submit
Which contact fields to validate (phone, email, address)
Getting this right before claims start coming in is critical.
How to Get There
From the left sidebar, click ClaimScore Settings. You'll see the full settings page for the currently selected case. The case status shows as Pending Setup until these settings are saved.
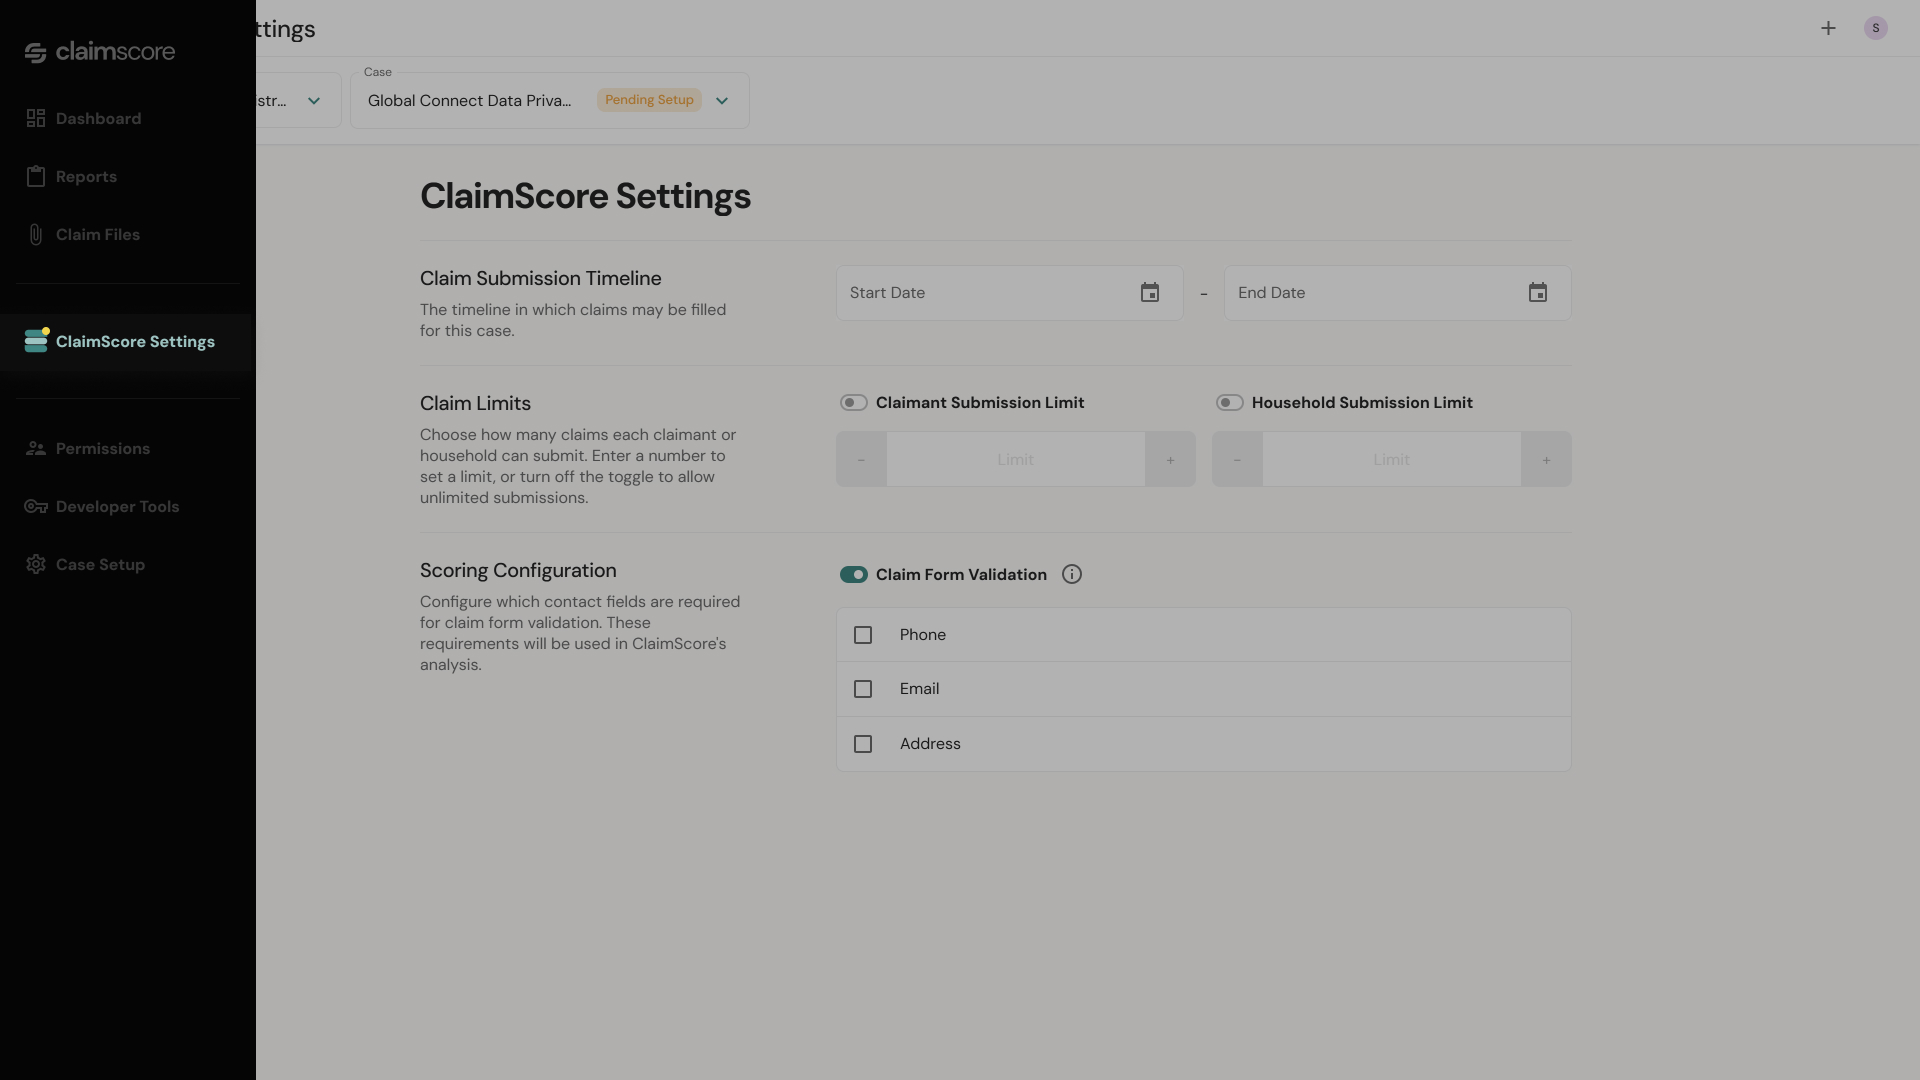
The Settings Explained
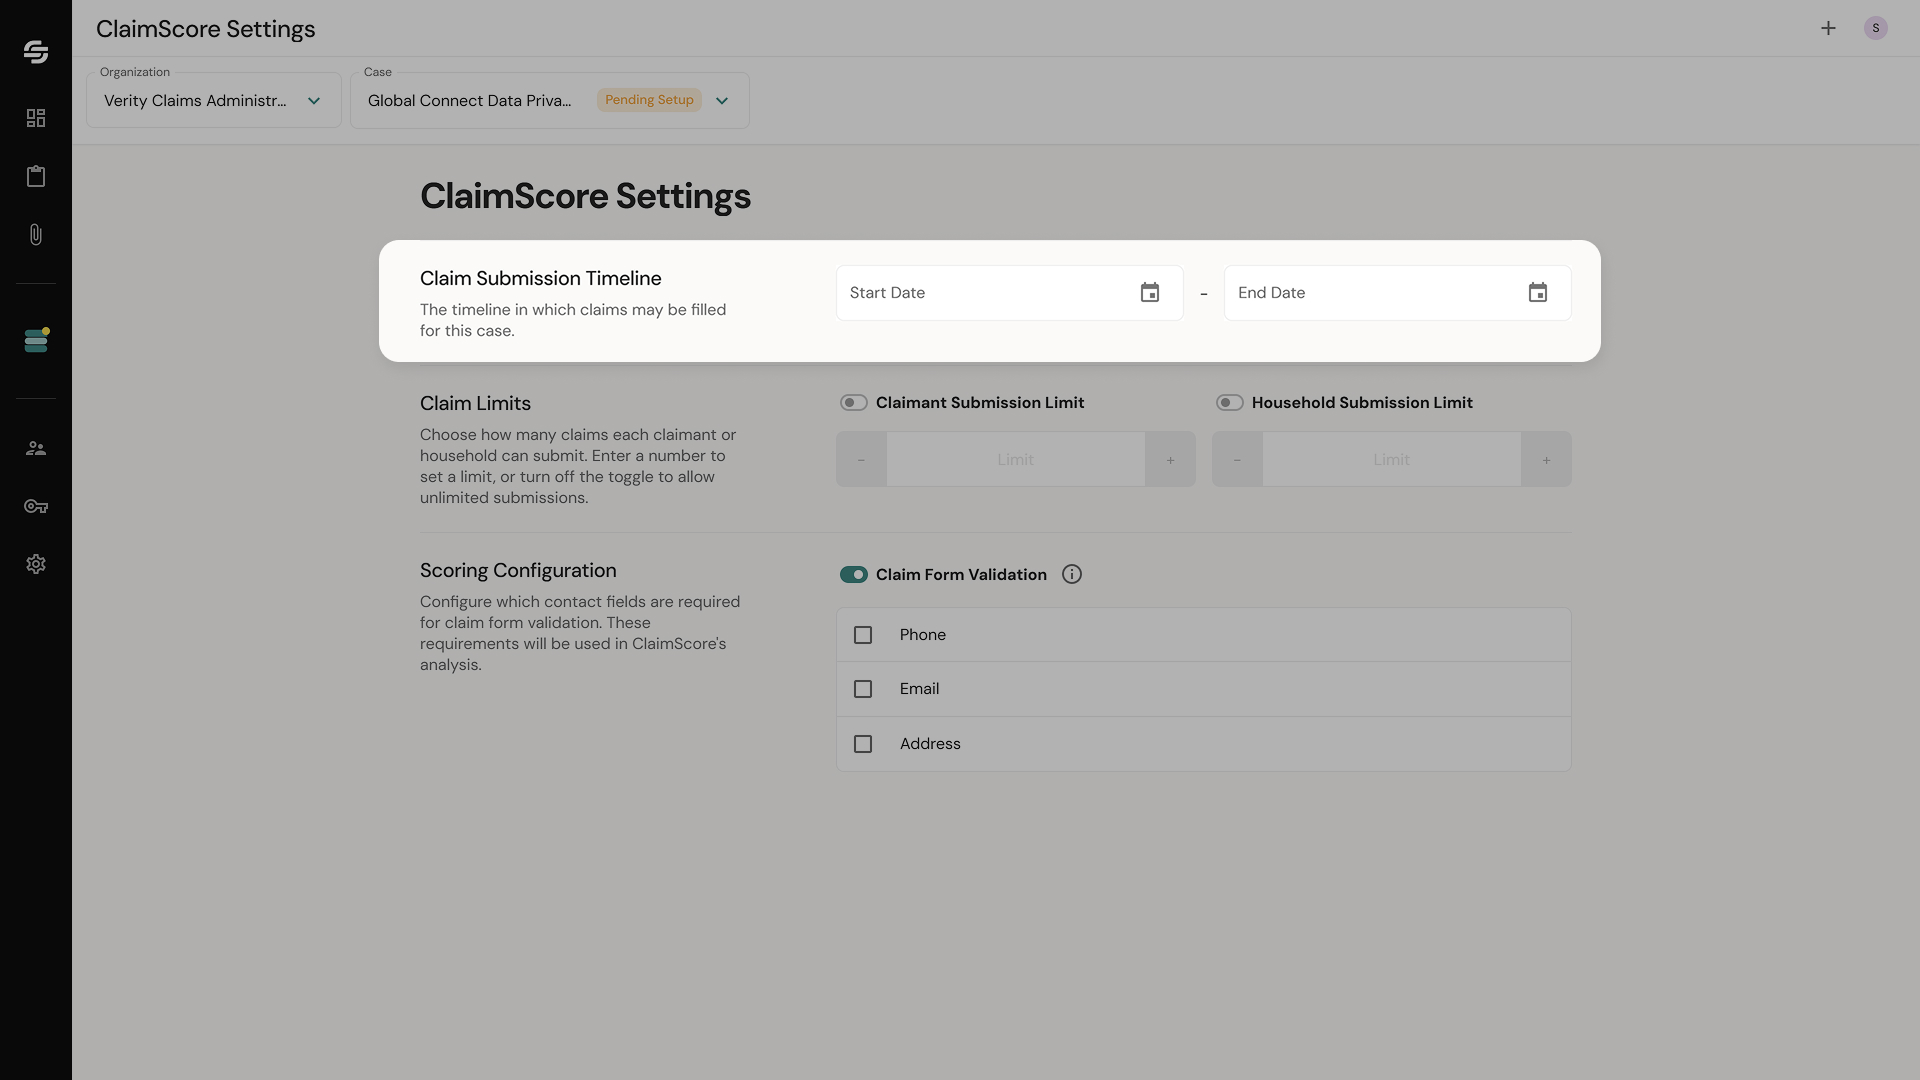
Claim Submission Timeline
This section has two fields:
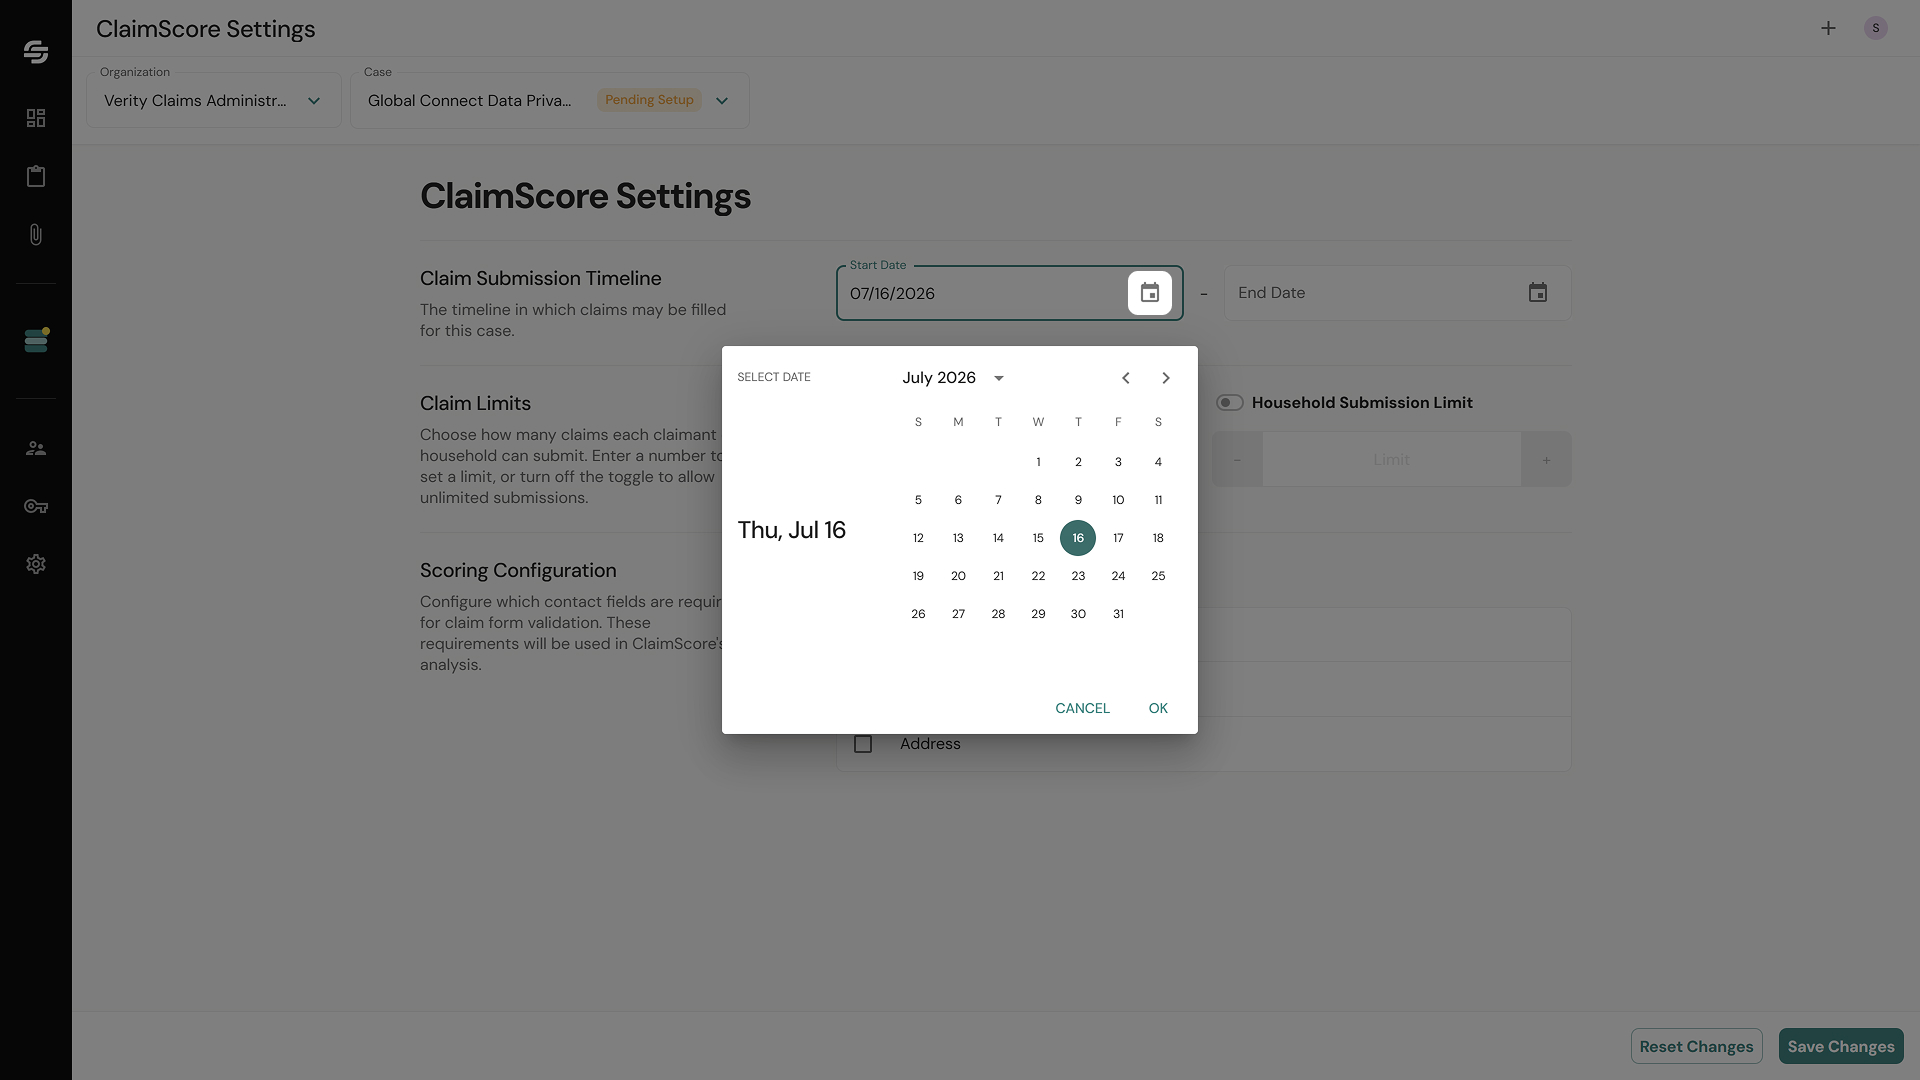
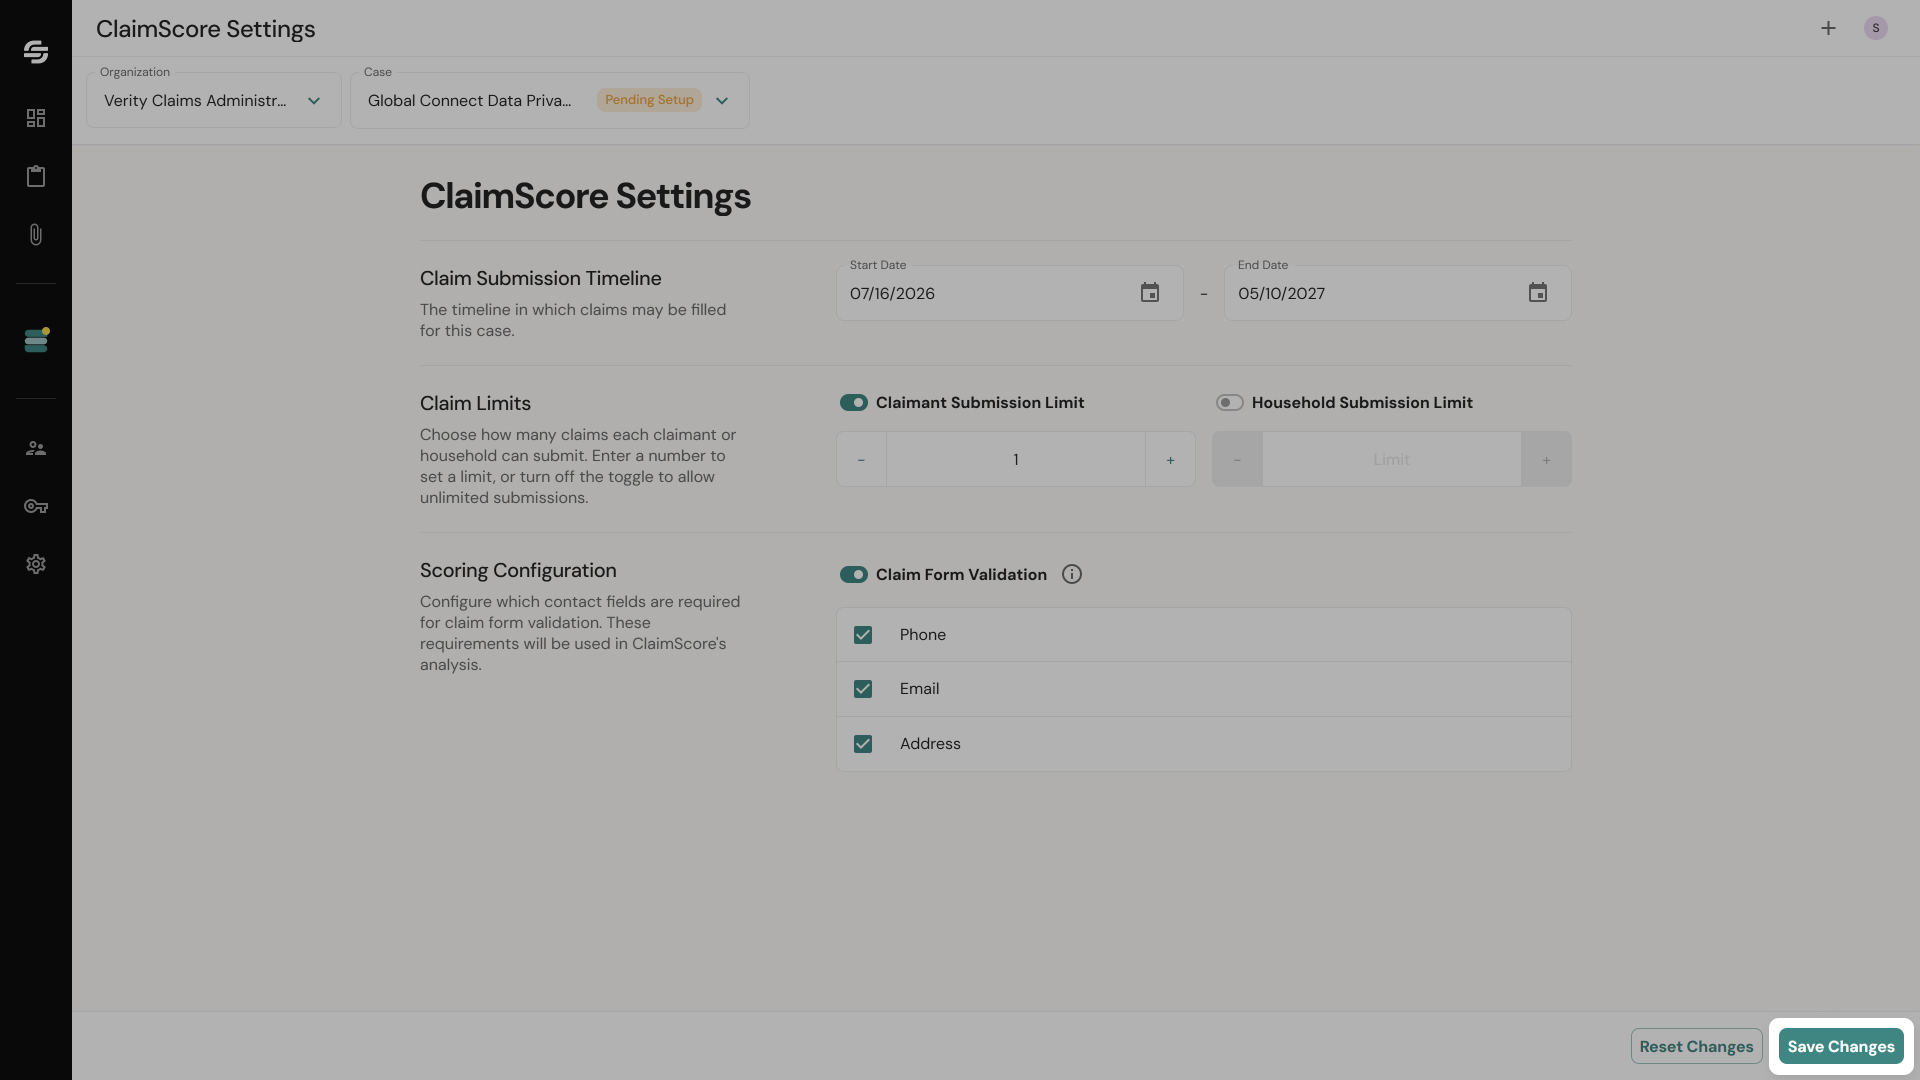
Start Date — The date when claimants can begin submitting claims. Claims submitted before this date will not be accepted.
End Date — The claims deadline. Submissions after this date will be rejected.
Click the calendar icon to open the date picker. Set both dates as defined by your case documents.
⚠️ Note: Once the Start Date passes, several other settings in the app become locked. Make sure everything is configured before the submission window opens.
Claim Limits
This section has two toggles. Both are off by default.
Claimant Submission Limit — When enabled, restricts how many claims a single claimant can submit. Toggle this on if your settlement terms limit individual submissions.
Household Submission Limit — When enabled, restricts submissions at the household level (based on shared address signals). Toggle this on if your settlement terms include per-household limits.
If your case has no submission limits, leave both toggles off.
Scoring Configuration
This section controls what ClaimScore validates when a claim comes in.
There is a master toggle: Claim Form Validation.
Turn this on if at least one of the contact fields below was required on your claim form — meaning a claimant could not submit the form without filling it in.
Leave this off if none of these fields were required, even if you collected them.
Once enabled, three checkboxes appear:
Phone — Check this if a phone number was a required field on your claim form.
Email — Check this if an email address was a required field on your claim form.
Address — Check this if a physical address was a required field on your claim form.
Only check the fields that were required for submission. For example, if your claim form required an email address and a physical address but not a phone number, check Email and Address and leave Phone unselected.
⚠️ Note: If the toggle is on, at least one field must be checked.
Saving Your Settings
Once you've configured all three sections, click Save Changes at the bottom right of the page.
If you want to undo changes you've made since your last save, click Reset Changes — this restores the previously saved state.
What Happens Next
With your case created and settings configured, you're ready to bring in claims. Depending on how your claims are collected: